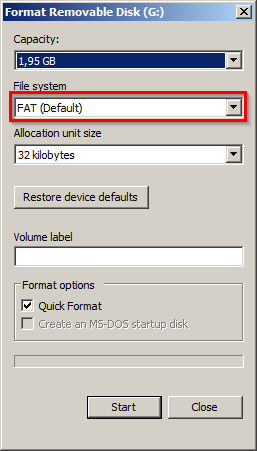
For ESXi shell to be able to detect the USB flash drive it must first be formatted in Fat16 and not exceed 2 gigabytes.
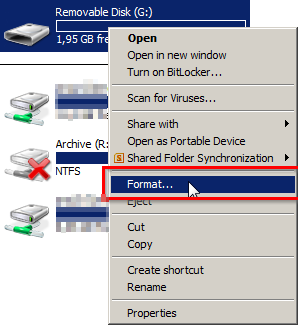
- First format the flash drive in FAT16. If the flash drive is 8 gigabytes or below the format can be done from the Windows user interface.
If the flash drive is above 8 gigabytes then follow the below instructions to format the drive in a command prompt.
- Enter Diskpart in a command prompt and follow the below example.
Microsoft Windows [Version 6.1.7601]
Copyright (c) 2009 Microsoft Corporation. All rights reserved.
C:\Windows\System32>diskpart
Microsoft DiskPart version 6.1.7601
Copyright (C) 1999-2008 Microsoft Corporation.
On computer: PC503934
DISKPART> list disk
Disk ### Status Size Free Dyn Gpt
——– ————- ——- ——- — —
Disk 0 Online 119 GB 0 B
Disk 1 Online 14 GB 0 B
DISKPART> select disk 1
Disk 1 is now the selected disk.
DISKPART> clean
DiskPart succeeded in cleaning the disk.
DISKPART> create part primary size=2000
DiskPart succeeded in creating the specified partition.
DISKPART> active
DiskPart marked the current partition as active.
DISKPART> format fs=fat quick
100 percent completed
DiskPart successfully formatted the volume.
DISKPART> assign
DiskPart successfully assigned the drive letter or mount point.
DISKPART>
- Use PuTTY to connect and login to the ESXi host as root.
Before starting the patch ensure that the new patch files have been copied to the USB flash drive.
- Type: /etc/init.d/usbarbitrator stop
This stops usbarbitrator so it is possible to access the USB flash drive.
- Plug the USB flash drive into the ESXi host.
It is important that usbarbitrator has been stopped before you plug in the USB drive.
- Type: vim-cmd hostsvc/maintenance_mode_enter
This sets the EXSi host into maintenance mode so changes made wont trigger alarms.
- Type: esxcli storage filesystem list
This will show a list of available volumes, and you need to verify what name the USB have been given.
“mpx.vmhba35:C0:T0:L0:1” will be used as an example.
- Type: esxcli software vib update -d /vmfs/volumes/”Name of USB Drive”/”name of Patch file”
Example: esxcli software vib update -d /vmfs/volumes/mpx.vmhba35:C0:T0:L0:1/ESXi550-2014.zip
This will apply the patch file, and if you have more than 1 patch file simply type in the same command again with the name of the second patch file.
- Type: vim-cmd hostsvc/maintenance_mode_exit
When the patch is done being loaded then exit maintenance mode.
- Type: reboot
This will reboot the ESXi host, and when it has started again the new patch will be active. When the ESXi host is done booting log back in with Putty, and you can verify the new patch by using the vmware -v command.
- Type: vmware –v