During the summer I received a task on my desk to test performance on a newly built VMware IT infrastructure. The most common way of doing this seems to be through the measuring of IOPS – Input and Output per Seconds. It doesn’t make much sense to just test ‘performance’ through IOPS on a system. You will need some kind of baseline, or customer requirement, or expected workload on the VMware platform / IT infrastructure to properly assess the infrastructure capacity and performance against the requirements.
As an example: An IT infrastructure of 3 to 4 physical servers had to be migrated onto a VMware platform. You want to make sure the VMware platform has enough performance and capacity to carry the workload of the 3 to 4 Windows servers (the old IT infrastructure). Usually some theoretical calculations and thoughts are placed on the table prior to building the VMware platform, but you can also do this post installation. You test the performance on the old IT infrastructure to get an idea of IOPS Read/Write workload, and then use this baseline as a comparison.
Most appealing to me was Kevin Franklin’s blog post on measuring IOPS for Windows found here: Kevin Franklin’s How to measure IOPS for Windows
Kevin provides some good insight and details into Windows and computer performance, and although I am sure there are other good 3rd party software for infrastructure performance testing I went with his method as a base for my own testing;
- Get IOPS on old IT infrastructure (All or some of the most common, or heavy loaded Windows servers)
- Analyze the IOPS result and get an idea of workload
- Use IOmeter on a virtualized Windows server on VMware platform and input workload result from physical servers into IOmeter. Discuss the end IOPS result.
This is not a finished guide, but more of an idea of how I worked with Excel to convert the data. You will have to read Kevin’s blog post, and download the material to completely understand and use it. I only made this because I felt Kevin was missing the hard part – which is working with the data in Excel. I received help from colleagues since Excel is definitely not my strong side.
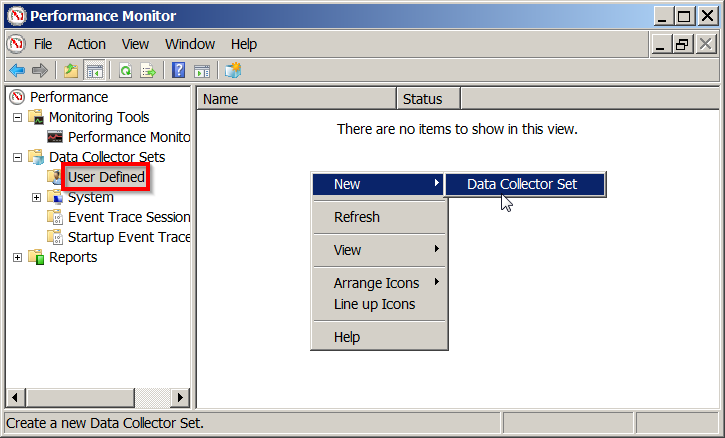
- Launch the perfmon.exe either through Run or a command prompt. Go to Data Collector Sets > User Defined, right-click and select New > Data Collector Set.

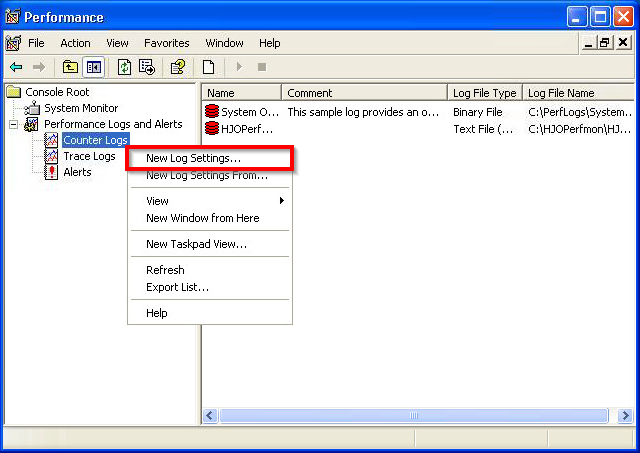
- If on an XP or server 2003 machine then expand Performance Logs and Alerts and right-click Counter Logs and select New Log Settings.

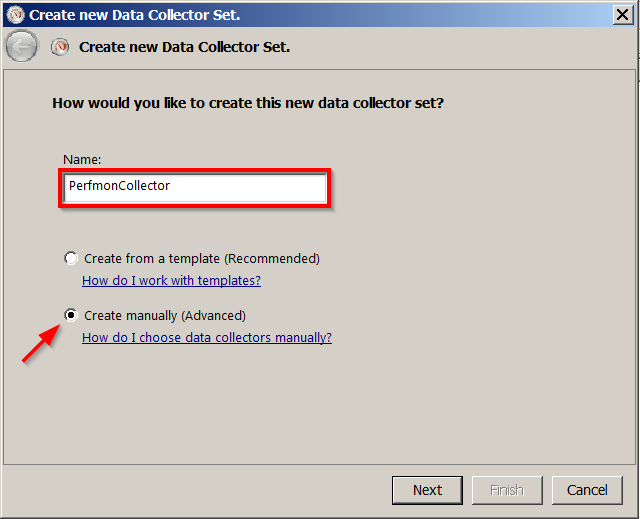
- Name the new data collector and select Create manually (Advanced).

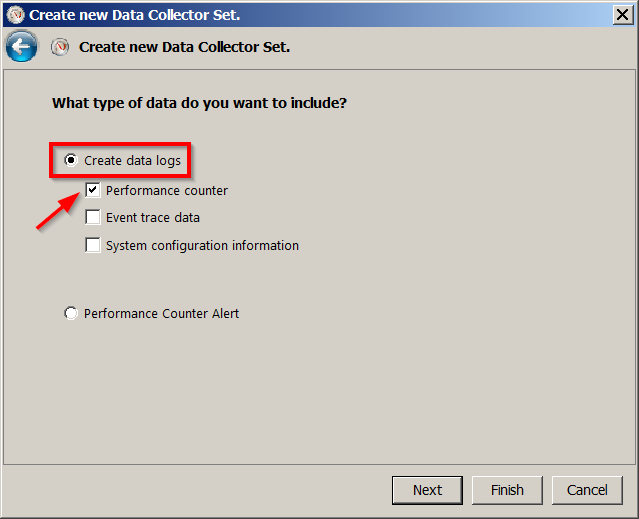
- Select Create data logs and check Performance counter.

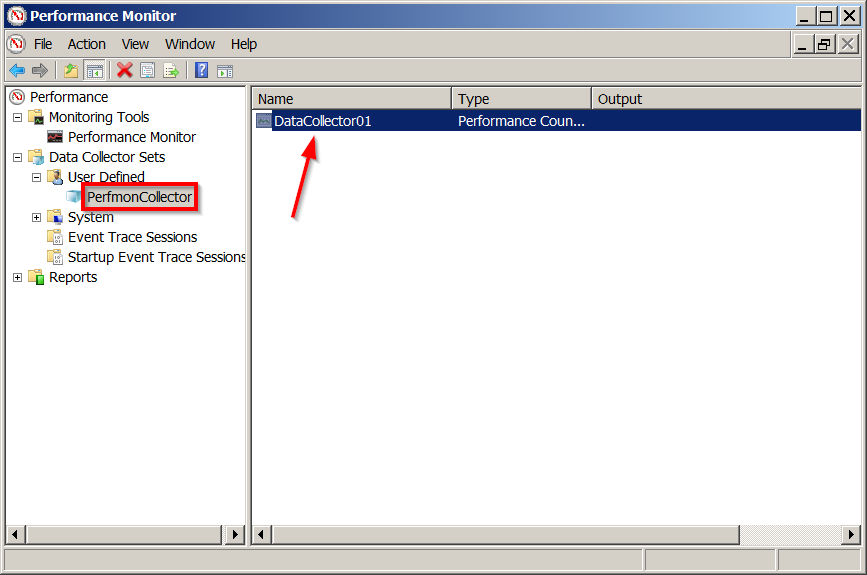
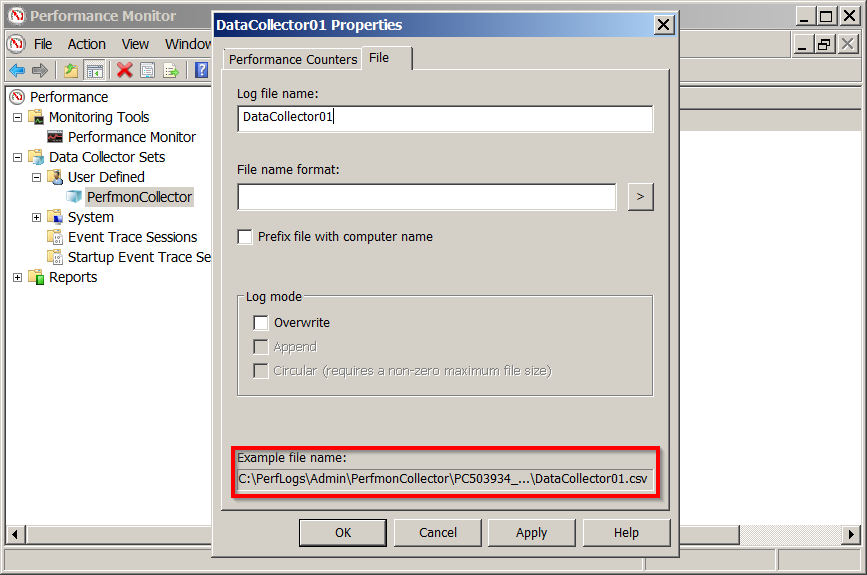
- Open the DataCollector01.

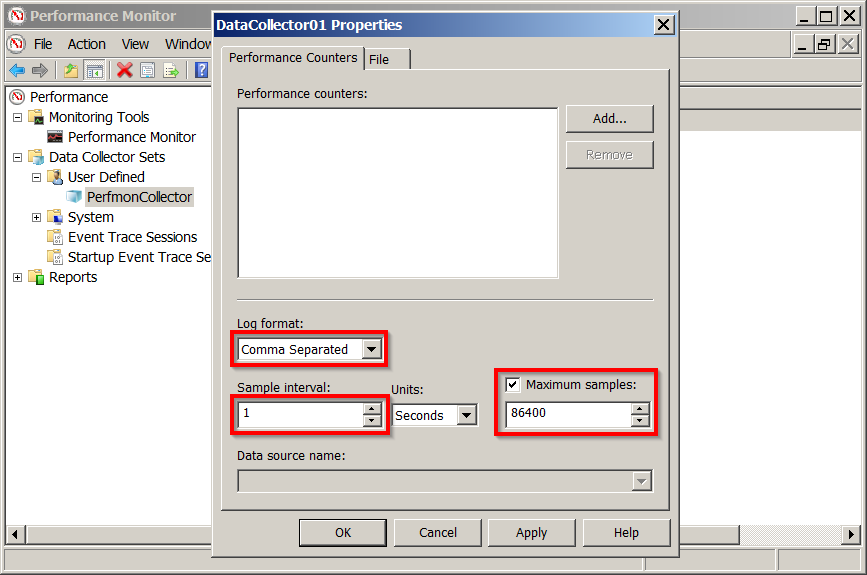
Change the log format to Comma Separated, set the sample interval as desired and change the Maximum samples to 86400.
Note: In the original article Kevin Franklin suggests using a sample interval of 1 second. This means it will log counters every second, but according to some this will tax the system.
I made a few tests and I found no differences in performance between an interval of 1 second or 5 seconds. The perfmon collector seems to be reserving 5 – 10mb of memory and 0 – 2% CPU on the XP system I tested on no matter what setting I chose.
The maximum samples is a measurement in seconds and is a means to put a limit on how long the collector should log data. Some people suggest a runtime of minimum one week, and others believe 1 – 2 days are fine as long as it is done in a time where the system is on a heavy load. 86400 seconds are two days.
12 hours of logging requires approximately 15 – 30mb of disk space.

- Next press Add and select the following counters:
- \Processor Information\%Processor Time
- \Memory\Available Mbytes
- \Logical Disk\
- Avg Disk Bytes/Read
- Avg Disk Bytes/Transfer
- Avg Disk Bytes/Write
- Avg Disk Sec/Read
- Avg Disk Sec/Transfer
- Avg Disk Sec/Write
- Disk Bytes/Sec
- Disk Read Bytes/Sec
- Disk Reads/Sec
- DiskTransfers/Sec
- Disk Write Bytes/Sec
- Disk Writes/Sec
- You can change the name of the log file under File and also see where it is placed by default.
Note: If you are on an XP or server 2003 machine then be careful placing the file in the root of the C:\ drive. The perfmon service is run by a network service account which does not have write access to the root C drive, so you must create a folder to be able to run the data collector.

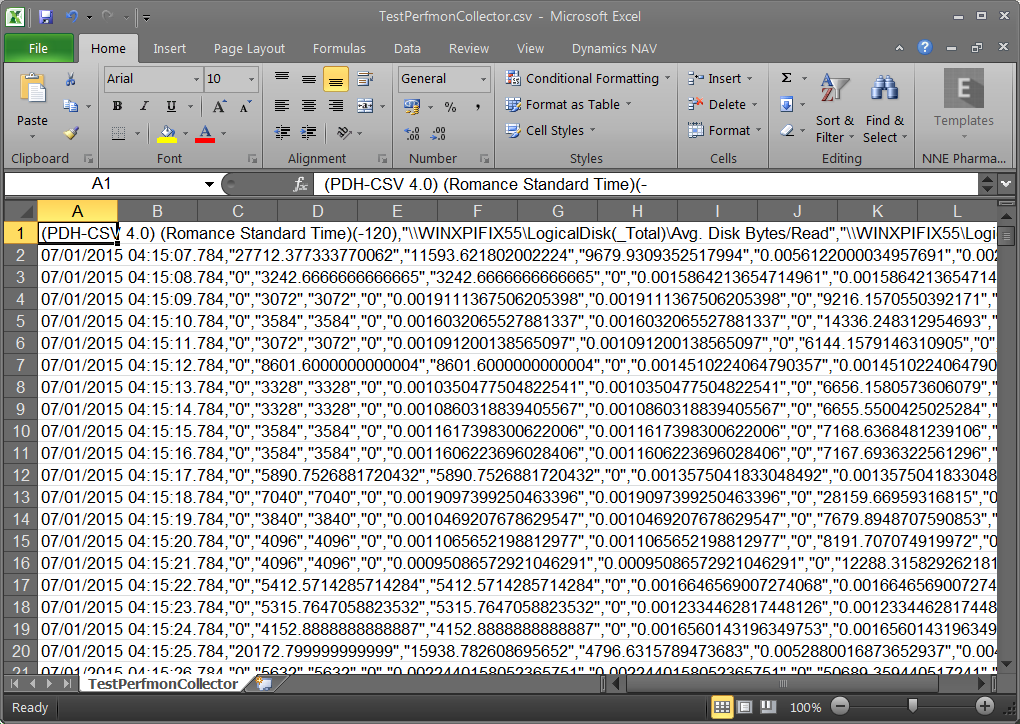
- Import the data into Excel once it has been collected.

We first have to format the date and time stamps, and then copy those into the BuildWorkSheet-Blank Excel document. After this we will format and convert the rest of the data.
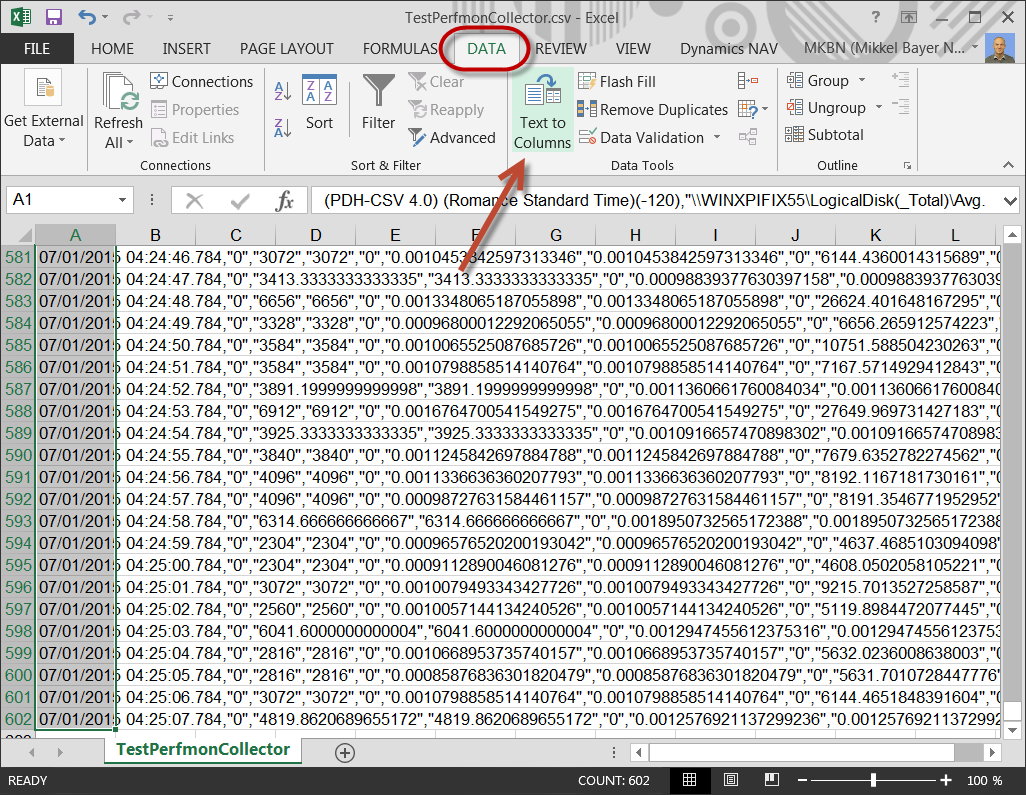
- Press Ctrl+A to mark all the data.

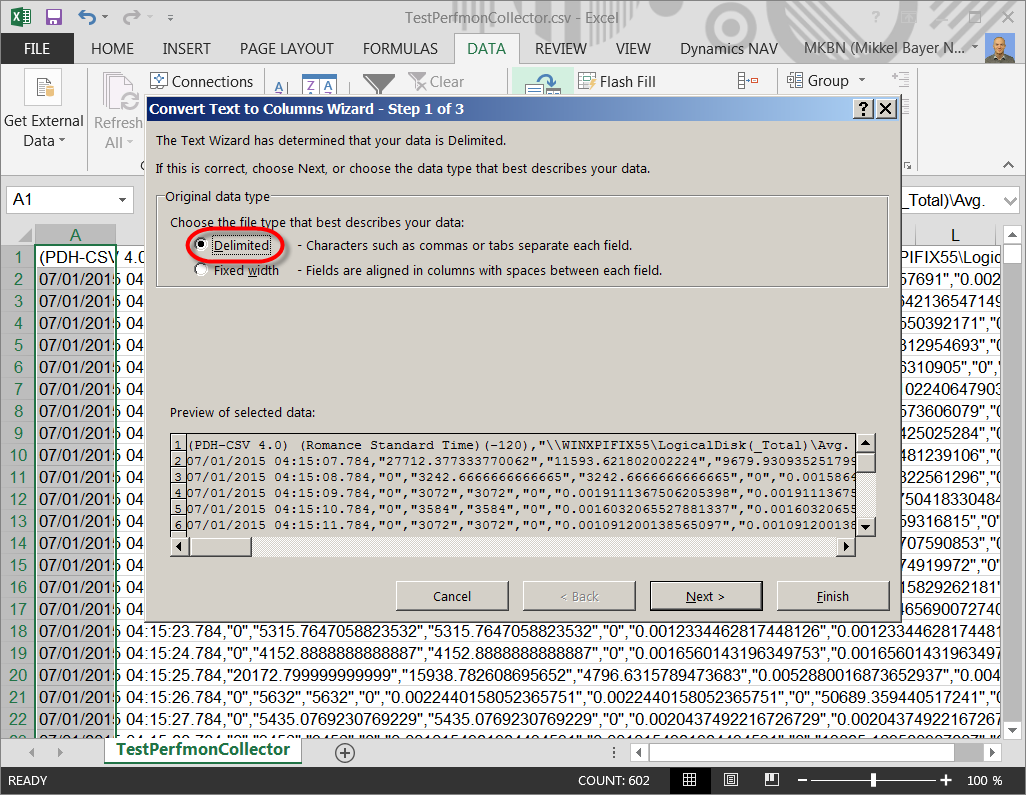
- Once all the data has been selected go to the Data tab and press Text to Columns.

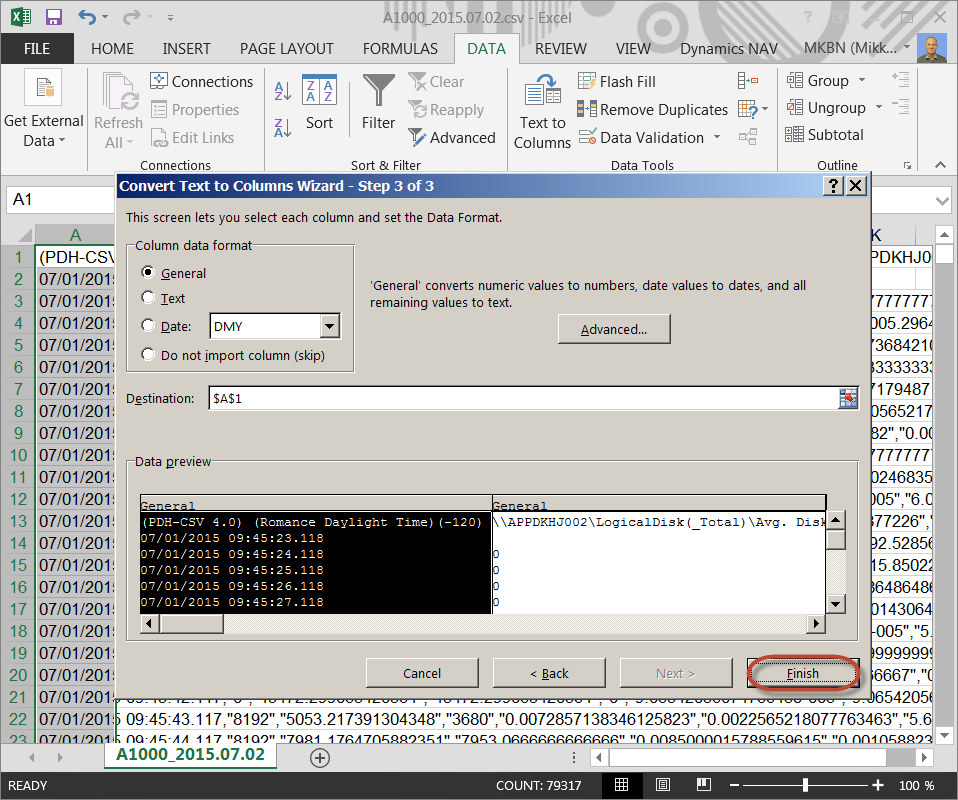
- Select Delimited and press Next.


- Leave everything at default and press Finish.

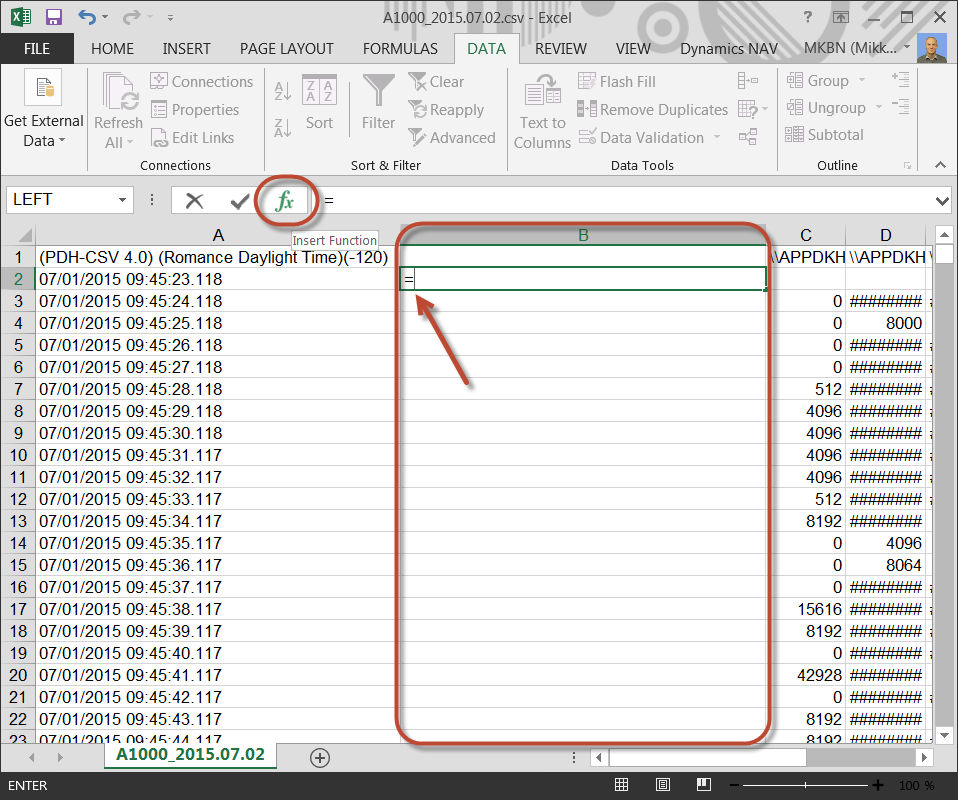
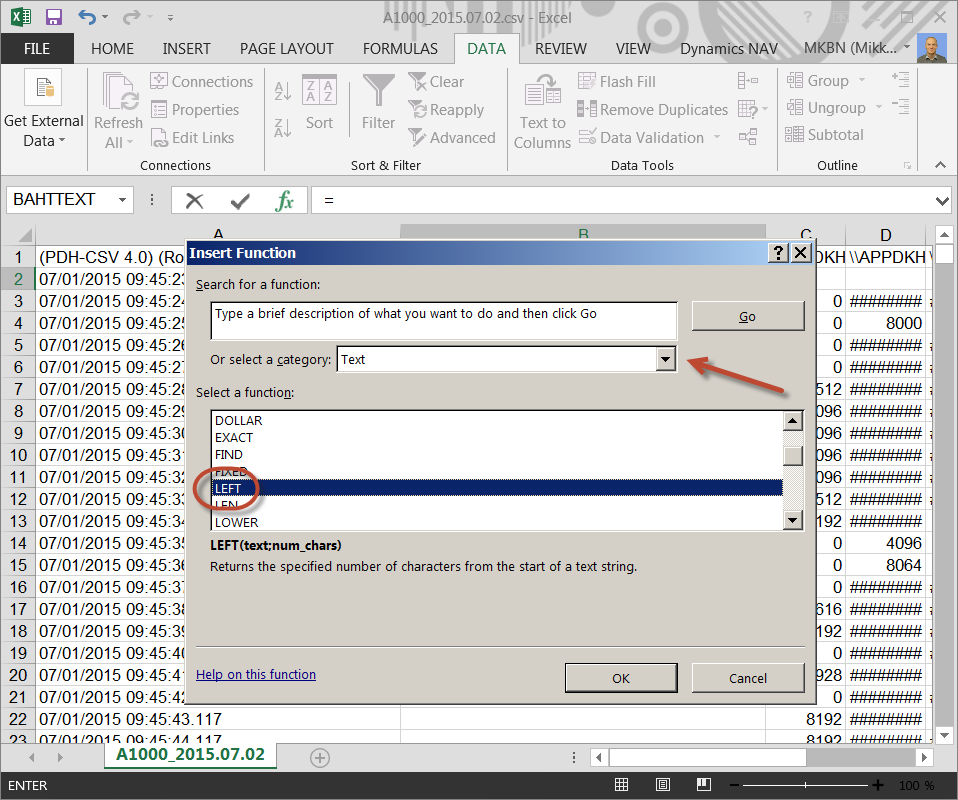
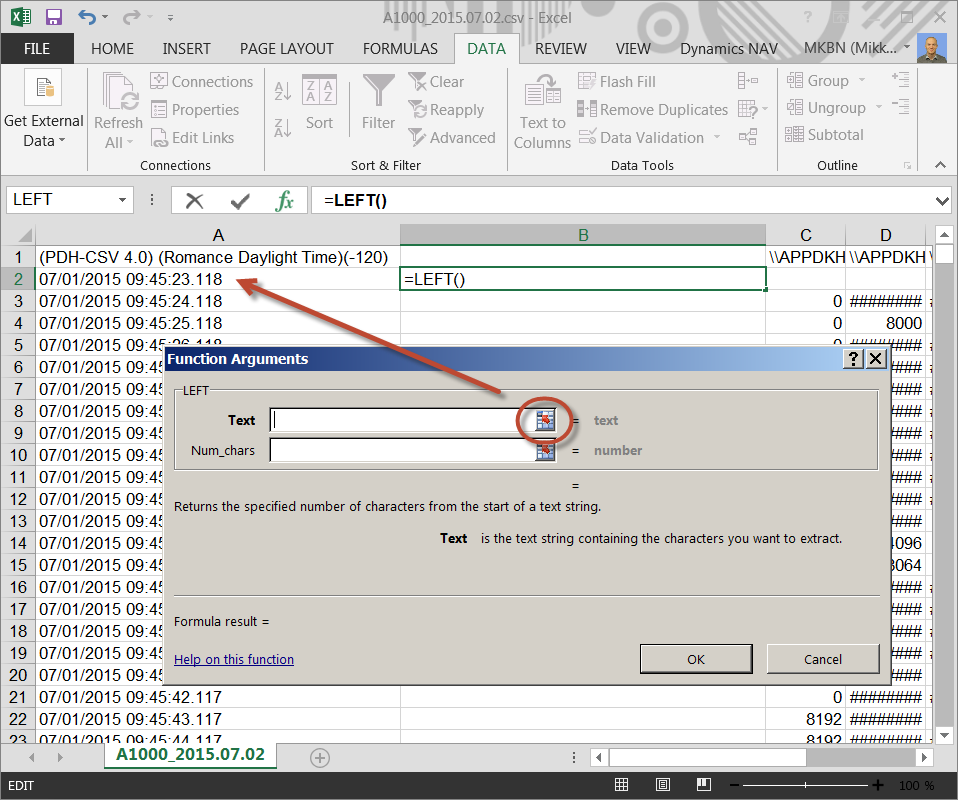
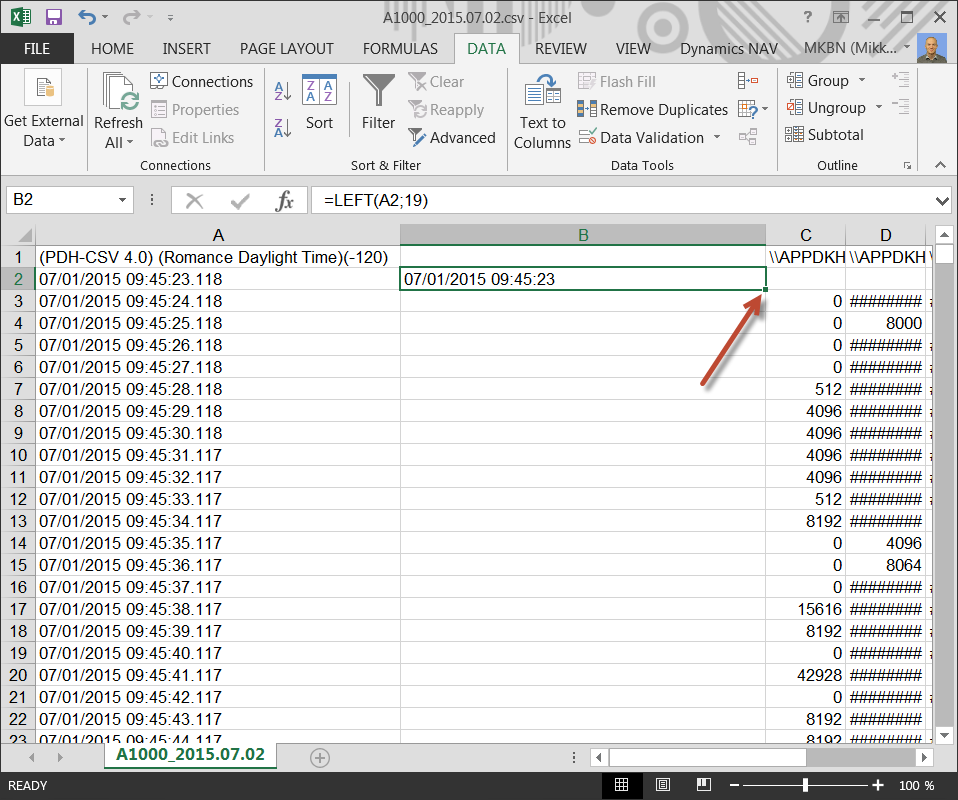
- Create a new column and in the cell next to the first time stamp create an equal sign, and then click Insert Function.

- Select Text as the category and Left as the function and then press OK.


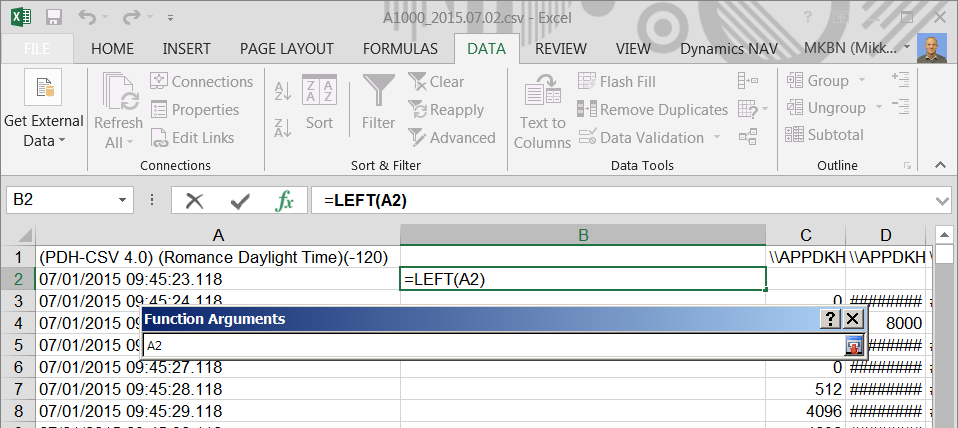
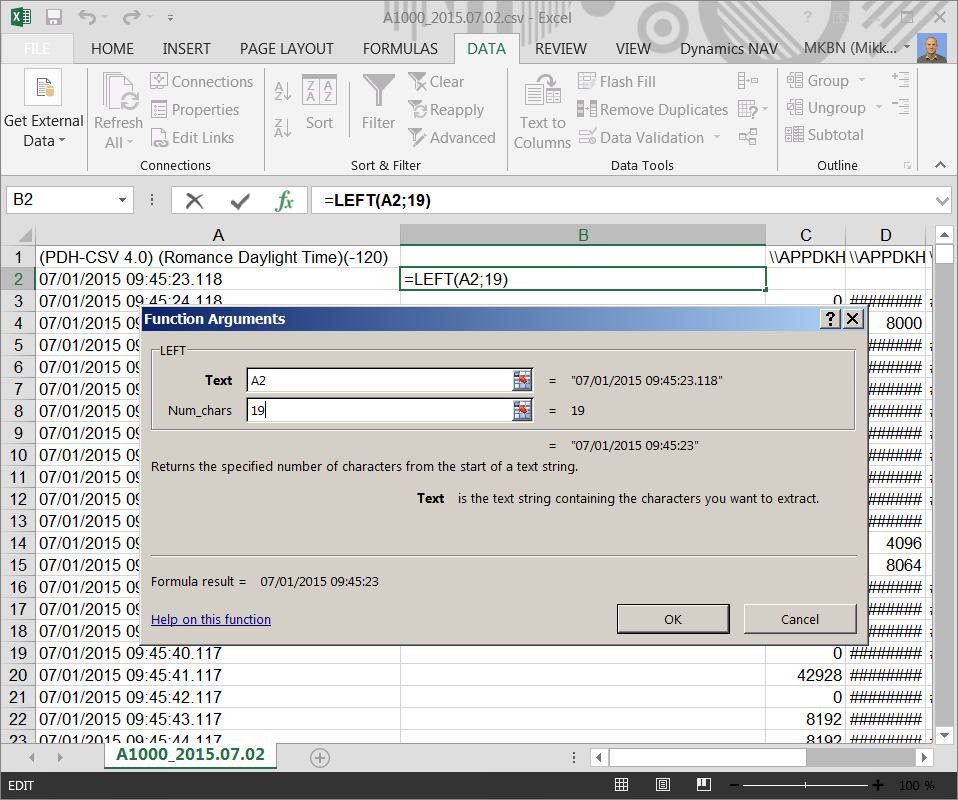
- In the Num_chars type 19 and press OK. This will reduce the number of characters to 19 starting from the left.

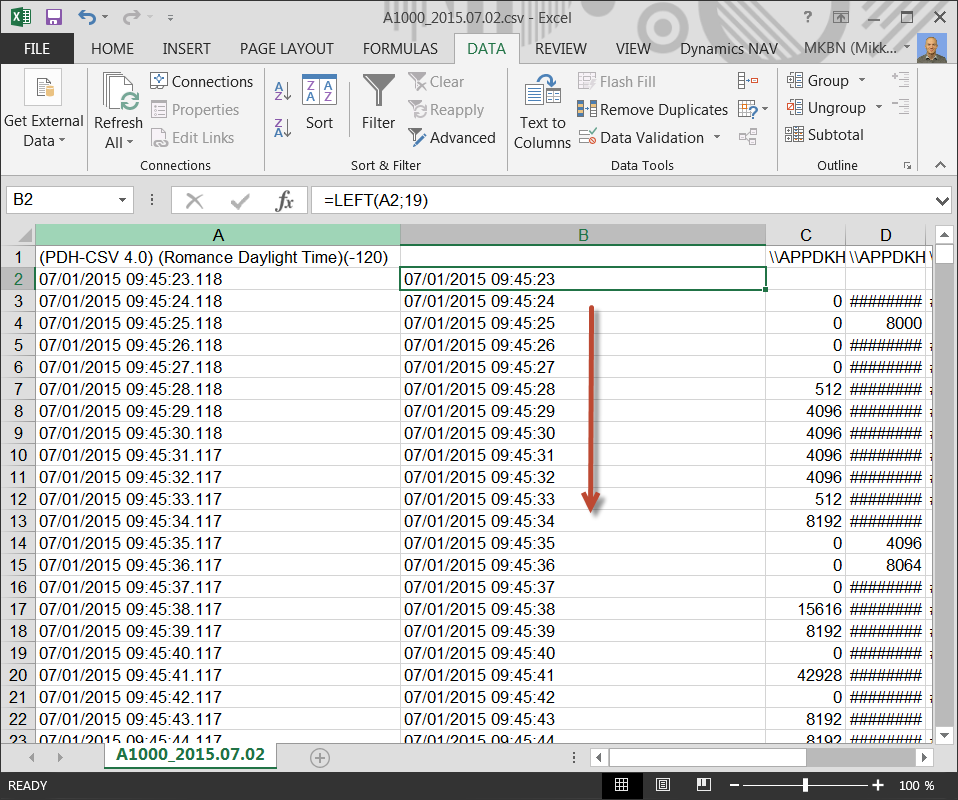
- Double-click the formula to expand it to the rest of the cells.

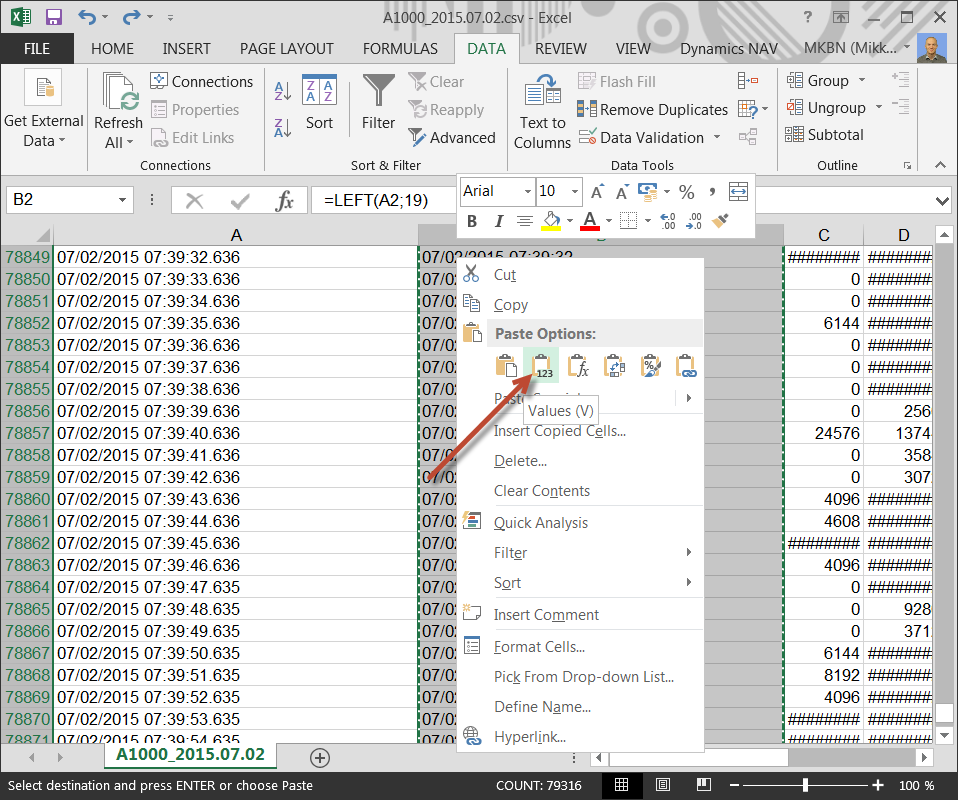
- Now copy the data to the Time value field in the BuildWorkSheet-Blank Excel document. To do this in an easy way select the first cell and hold Shift and press End and then press Arrow down to quickly select the entire column with data values only.

- Copy the cell values only and not the entire formula.

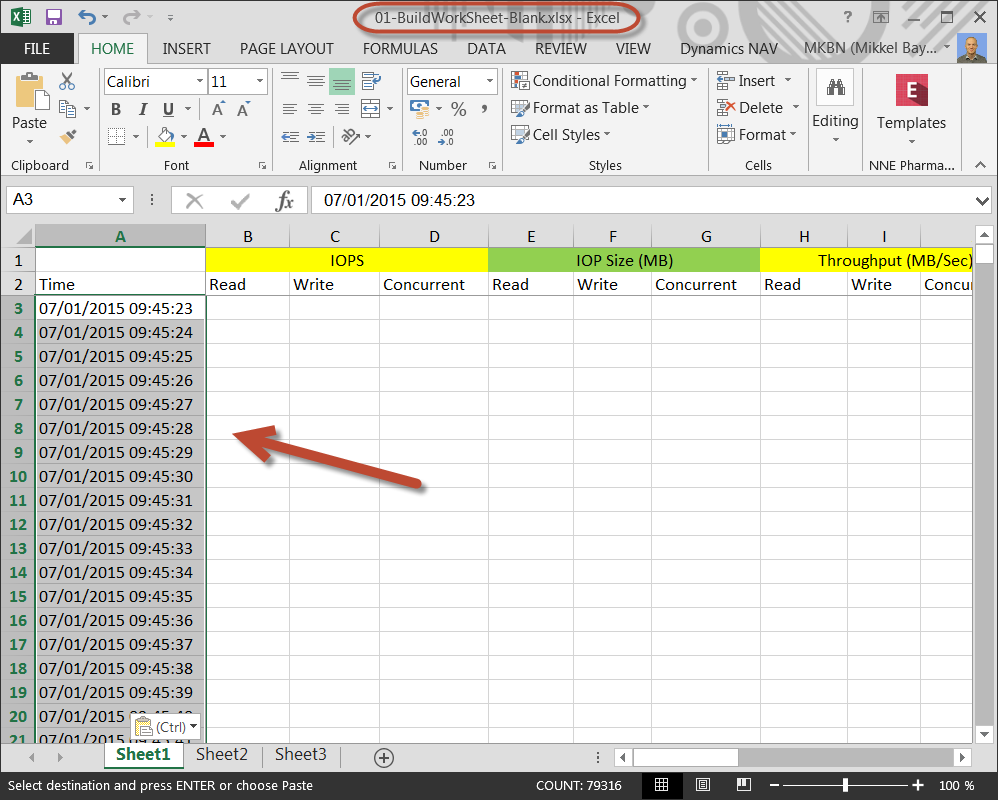
- Copy-paste the values into the BuildWorkSheet-Blank.

Next up is to convert the rest of the data. Close the document without saving or undo all of the previous actions. Repeat the previous steps as follows;
- Select all data by hitting Ctrl+A.
- Go to the Data tab and select Text to Columns.
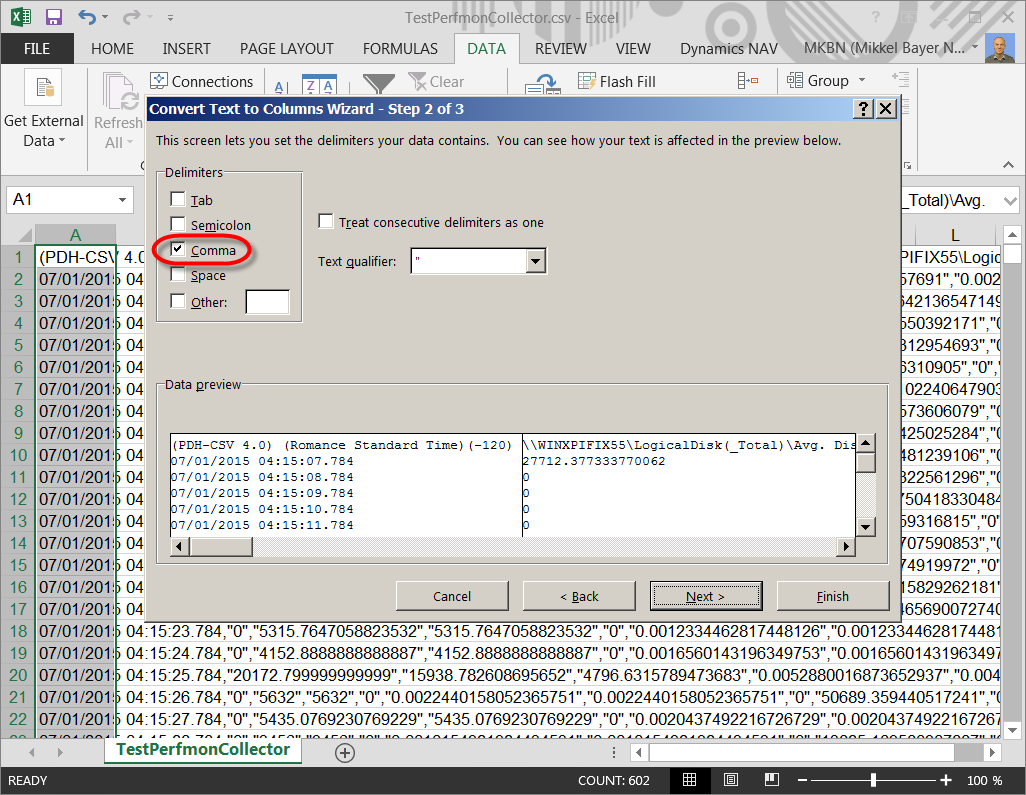
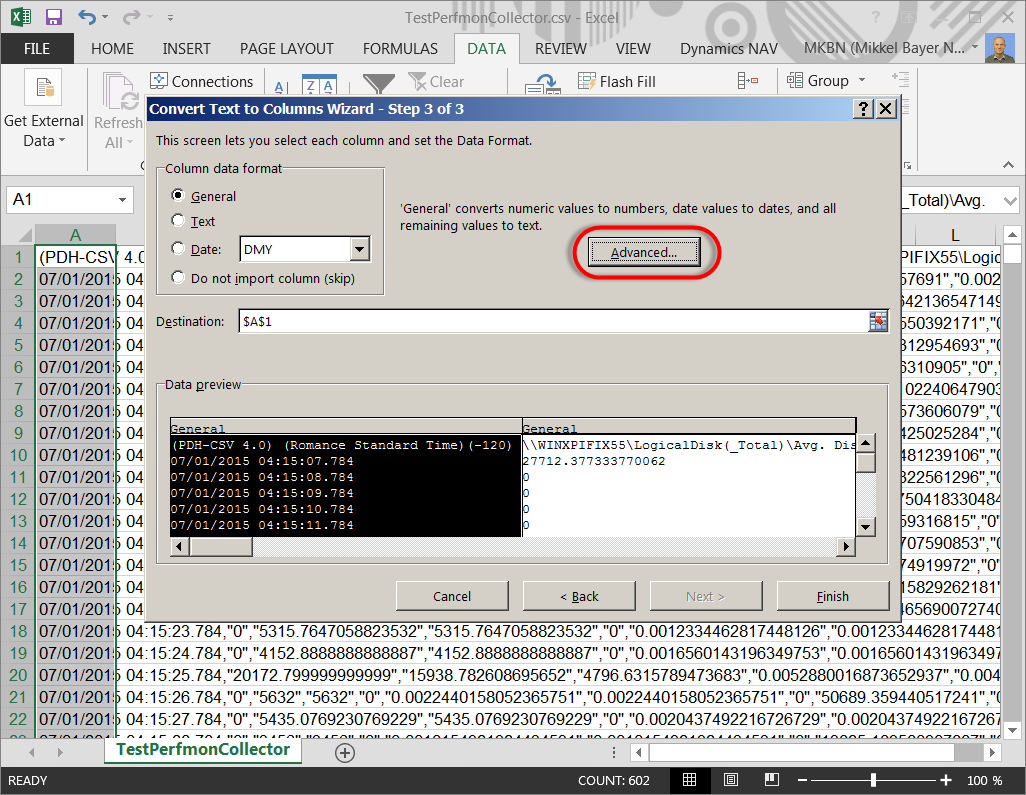
- Select Delimited.
- Select Comma.

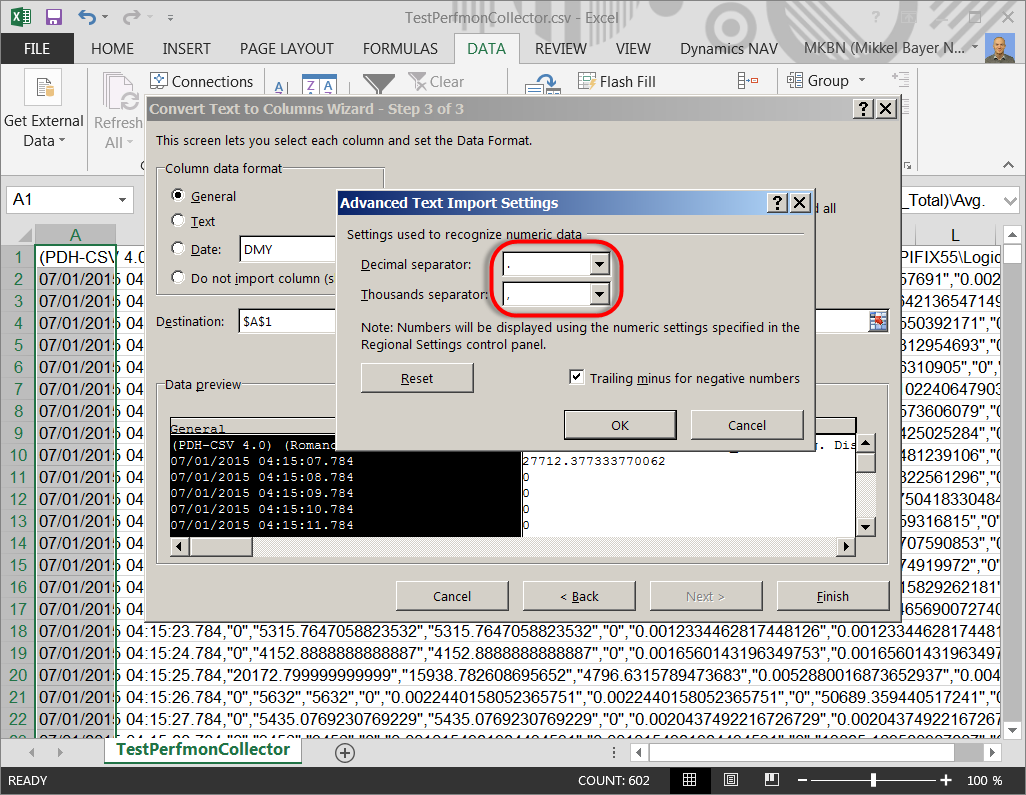
- Set the decimal separator to dot and the thousands separator to comma, and then press OK and Finish.

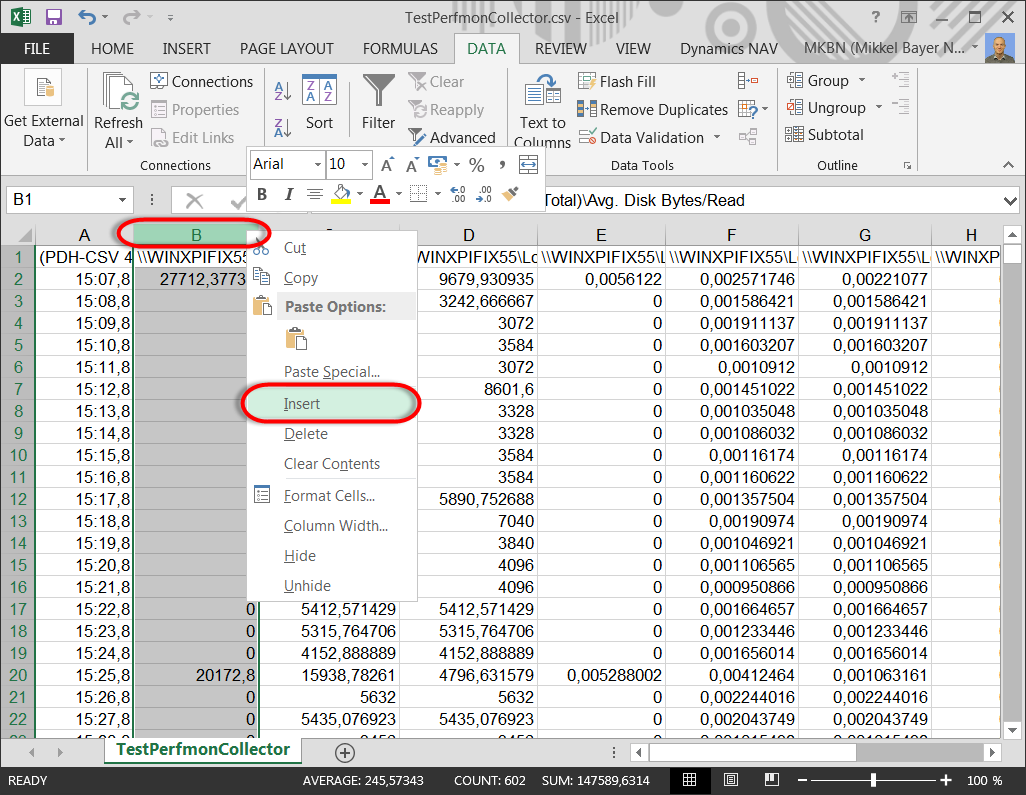
- Right-click column B and insert a new column.

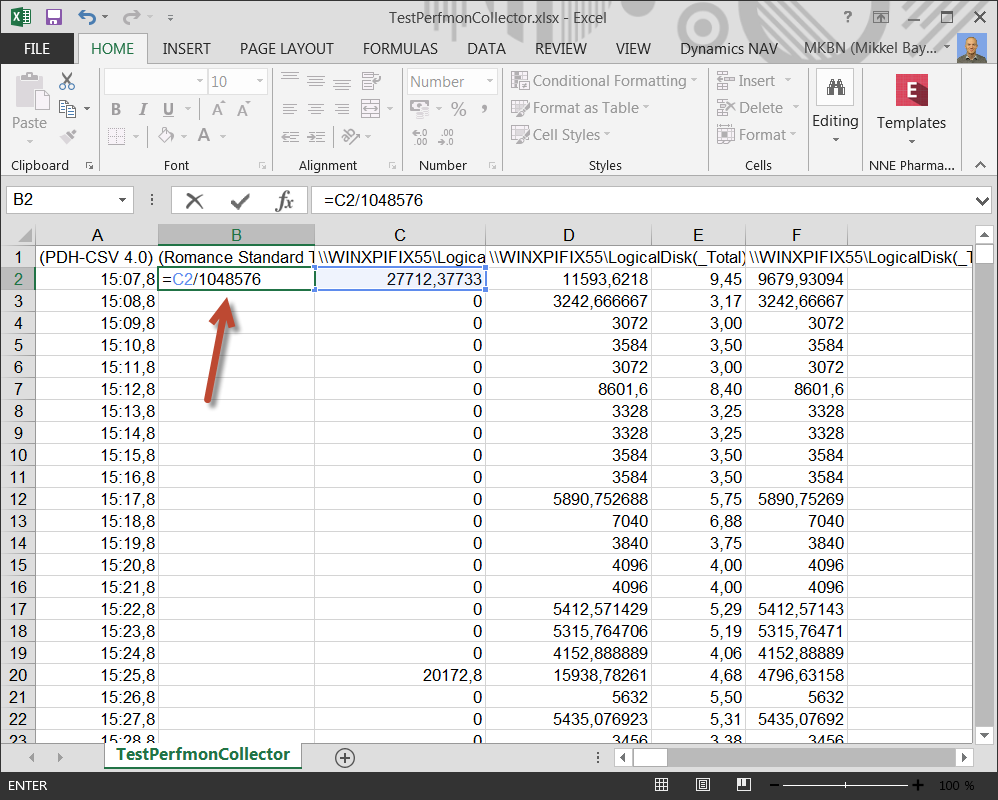
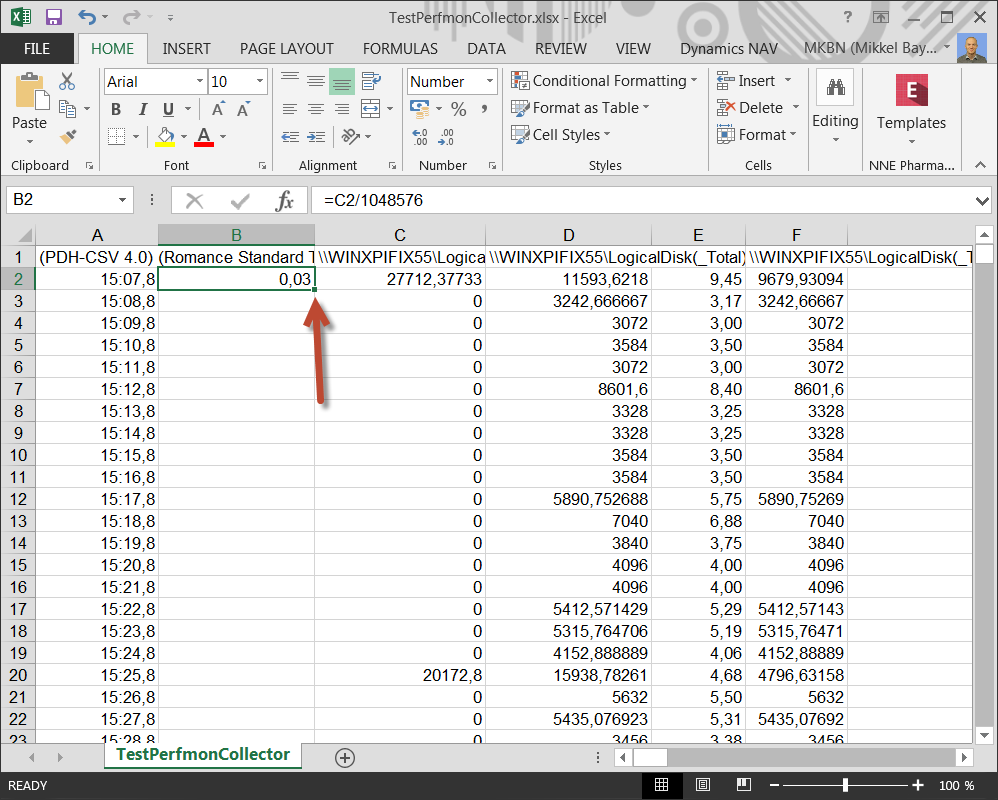
- Convert the bytes to megabytes.

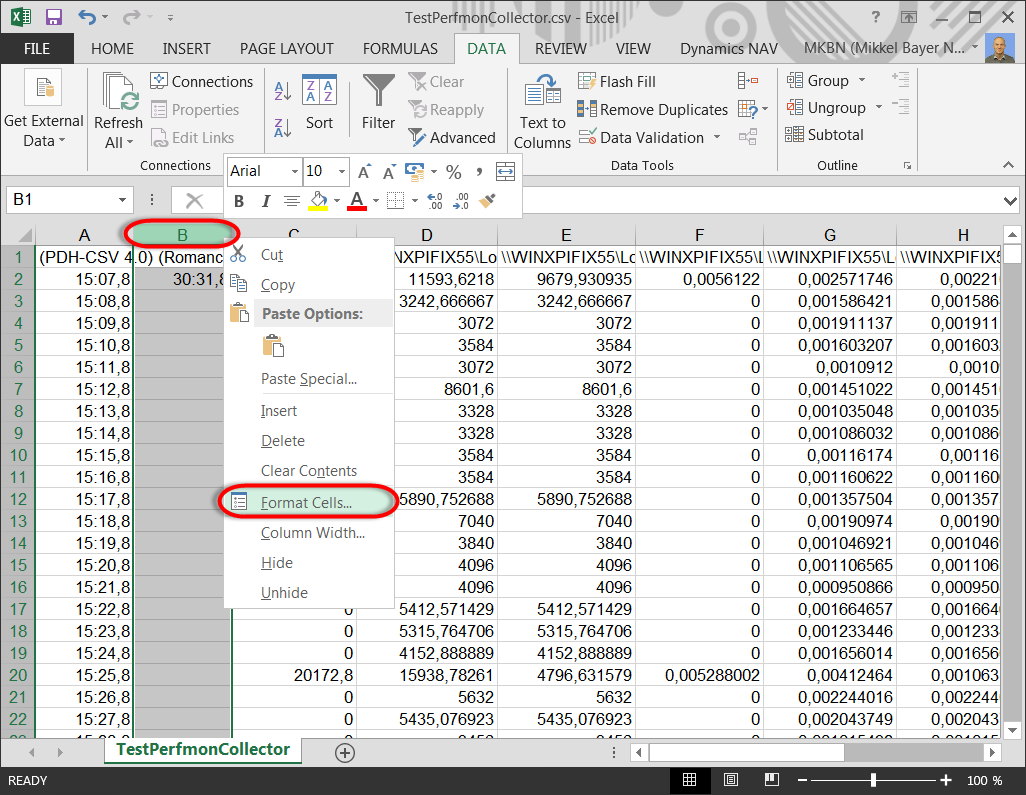
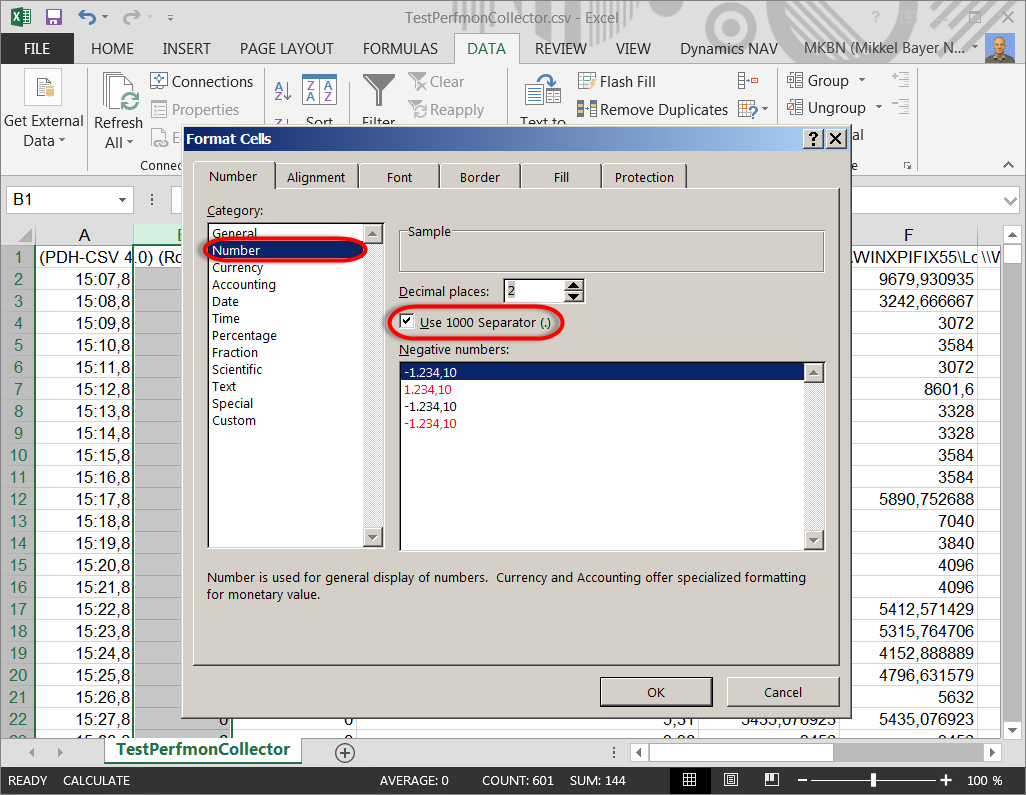
- Mark the new B column, right-click it and select Format Cells.

- Go to the Number tab and select Number. Then check Use 1000 Separator (.) and press OK.

- Simply double-click the lower right corner of the cell to copy the formula to the remaining rows.

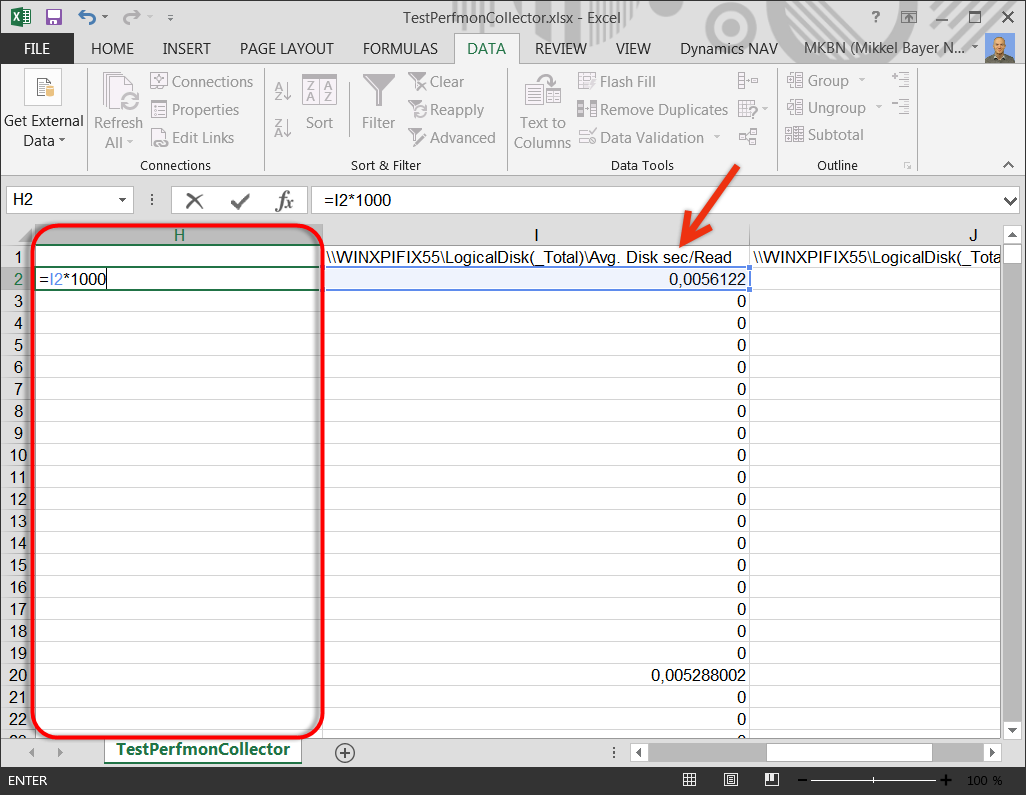
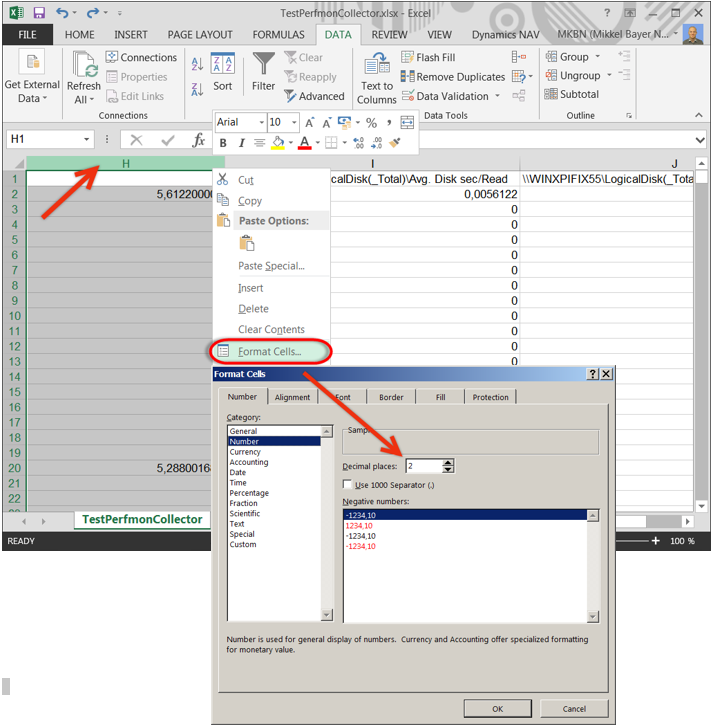
- To properly convert the latency readings Disk sec/Read (Latency ms) to milliseconds create another column and multiply the value by 1000.

- Select the entire column and format the cells to show only the desired decimals.

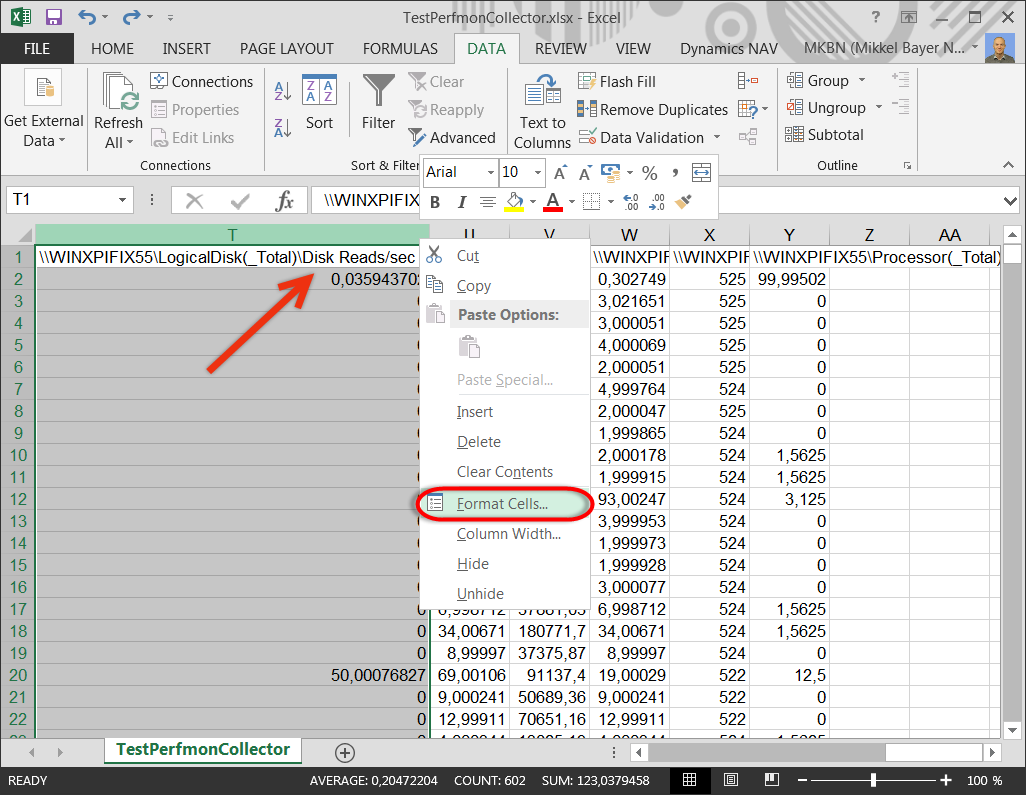
- The Disk Reads/sec are the IOPS read value, and simply format the cells to show only 2 decimals to convert to the correct value.

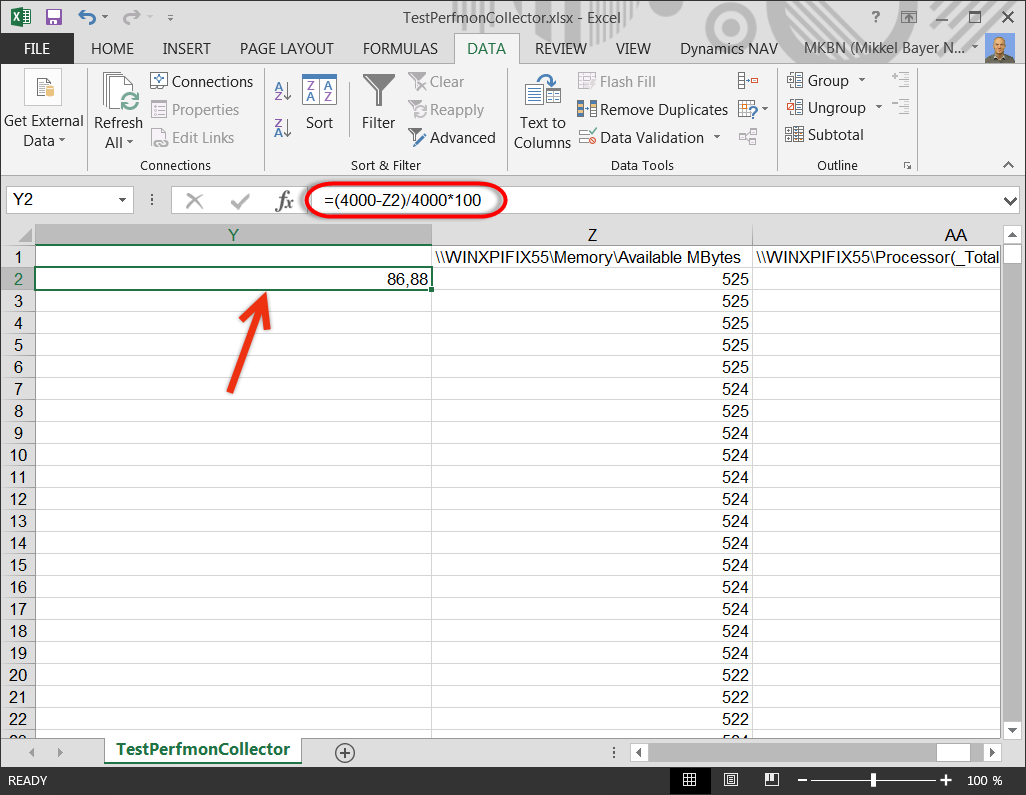
- To get the memory utilization in percentage first subtract the total amount of memory by the Available MBytes value, and then divide that by the total amount of memory available and multiply by 100.